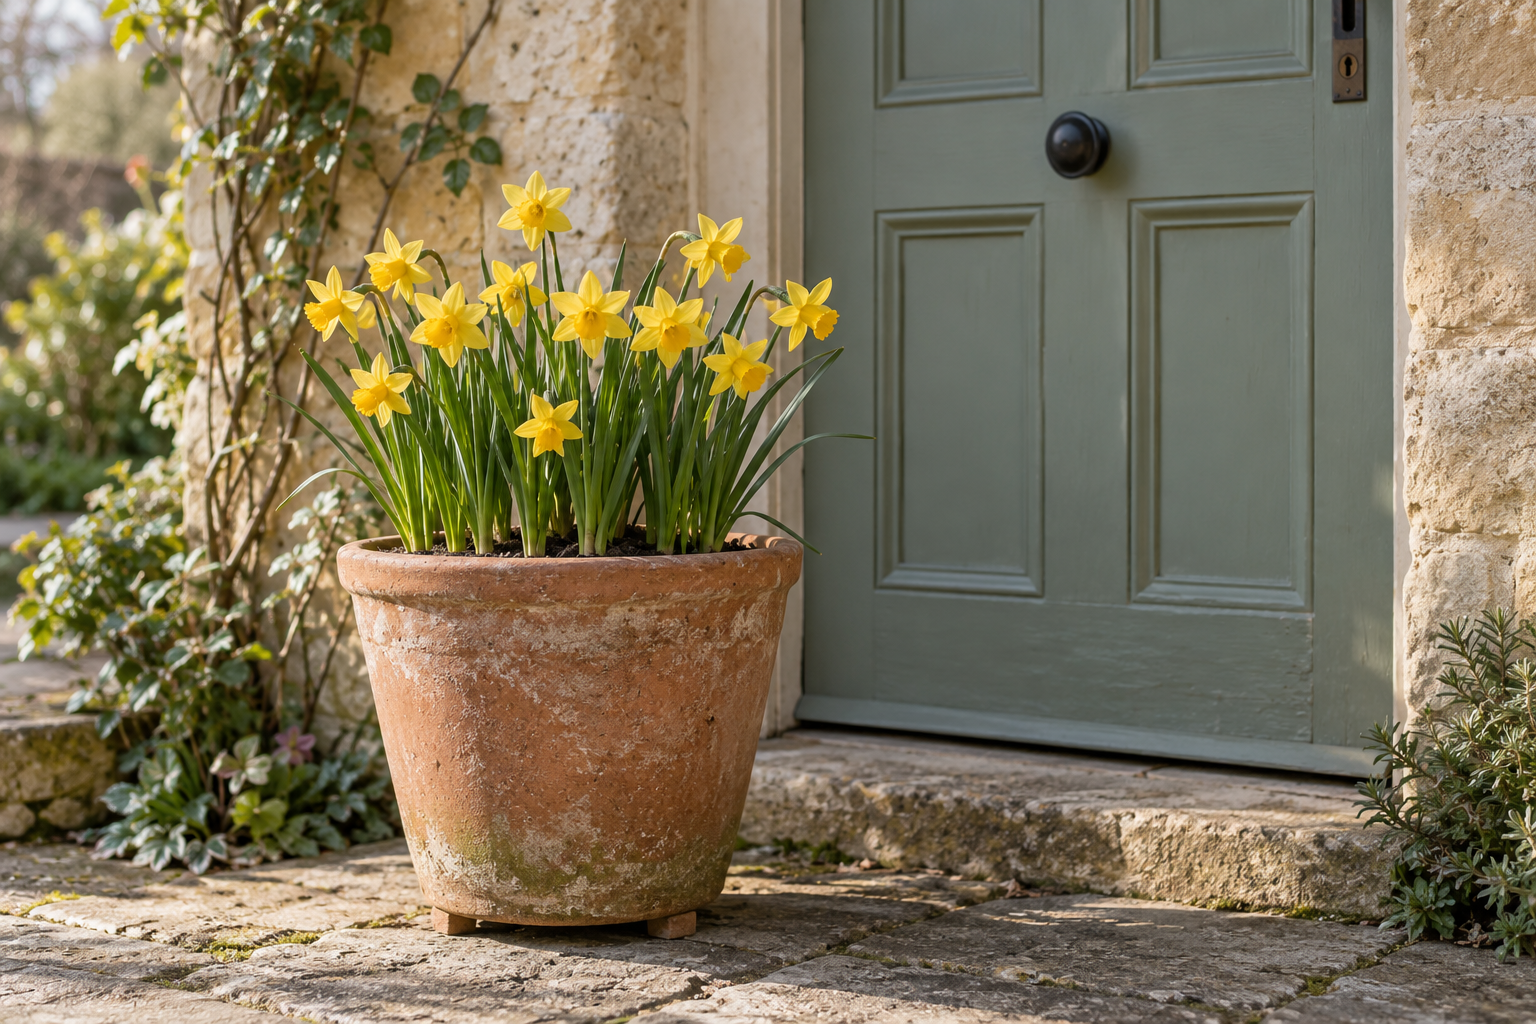
A pot of spring flowers brings the garden close enough to enjoy on an ordinary morning. Beside a doorstep or a patio chair, even a small display can make the space feel considered and welcoming.
Start with one pot and one bulb variety. You can add a layered arrangement later, once you know how your containers behave through winter. The decisions that matter first are practical: where the pot will drain, how much planting room it provides, and where it will spend the cold months.
This guide is for outdoor spring displays planted ahead of the flowering season. For a broader choice of plants, see our spring bulbs for a cottage garden.
Planning More Than One Season?
Use the free Tendrelia Cottage Garden Seasonal Planner to keep bulb planting, winter protection, spring tasks and future container ideas together in one simple place.
Plan the winter location before you buy
Think of your display in two stages: its winter growing conditions and its spring position. A sunny doorstep may be ideal for showing flowers but unsuitable for storing an exposed pot through severe cold.
| Your conditions | What to plan first |
|---|---|
| Prolonged hard freezes | A protected cold location and a way to monitor its temperature |
| Milder winters with heavy rain | Free drainage and a position that avoids persistent saturation |
| Winters too warm for the chosen bulbs | Supplier advice on chilling requirements or locally suitable alternatives |
These are planning categories, not fixed USDA-zone rules. Exposure and the actual temperature around your pot matter. A sheltered courtyard and an open balcony can offer very different conditions in the same town.
Choose the pot for its usable space
Check the inside of a container as carefully as the outside. A narrow base, false bottom or built-in reservoir can leave less planting room than the advertised height suggests. Ask whether there is space for roots below the bulbs, the required covering above them and a little room below the rim for watering.
For a layered display, the RHS suggests a container at least about 12 inches wide and deep. Treat that as a starting point: your chosen bulbs still have to fit at their proper depths. Drainage holes are essential. RHS container-bulb guidance
A plain nursery pot inside a decorative outer container is another design option. Make sure drained water can escape the outer container too, and check it after rain. Choose materials rated for the winter conditions they will experience; the pot's durability and the plant's cold tolerance are separate questions.
Keep the first planting simple
Choose one named variety for your first container. This makes its planting instructions and expected flowering time easier to follow. Buy for your climate and the light available, then use color to connect the pot to the rest of your garden.
Three possible design directions are:
- A pot of miniature daffodils beside a painted door.
- A single tulip variety repeated in two matching containers.
- Several small pots grouped in a restrained white, yellow or violet palette.
These are styling ideas rather than promises of simultaneous flowering. Check the cultivar descriptions before building a combination around a particular bloom period. Our cottage garden color schemes can help you choose a palette.
Plant a single-variety pot

Gather your bulbs, container, suitable potting mix, a scoop or trowel, water and a label. A powered auger or standing bulb planter is unnecessary for filling a container.
- Read the bulb instructions. Confirm planting season, depth and spacing for the variety. Use local timing advice rather than a single planting month for every U.S. region.
- Check drainage. Set the empty pot where water can leave its base freely.
- Add potting mix. Build a base that positions the bulbs at the specified depth, measured from the final mix surface. Check whether the supplier describes depth to the bulb's base or the amount of cover above it.
- Arrange the bulbs. Place their growing tips upward where identifiable. Follow container-spacing advice from the supplier and avoid pressing bulbs together.
- Backfill gently. Leave watering space below the rim, water to settle the mix, and let excess water drain.
- Label the pot. Record the variety and planting date, then move it to its planned winter location.
Bulb depth varies, so a decorative pot's height should never dictate a shallower planting than the variety needs. See RHS bulb-planting advice for general planting principles.
Try layering when the pot has enough room
A “bulb lasagna” uses multiple planting levels. For a succession of flowers, the RHS describes larger, later bulbs below smaller, earlier ones. Choose cultivars deliberately; the names “tulip” and “daffodil” alone do not establish their flowering order.
Sketch the layers before filling the pot. Preserve the required depth for each bulb and root space underneath. Two layers are enough if three would crowd the container. Alternatively, use separate pots and rearrange them as each reaches its best. RHS layered-pot method
Overwinter according to your conditions

In cold regions
Do not assume a bulb that survives in the ground will have equivalent protection in an exposed pot. Oregon State Extension recommends moving vulnerable container plants into protected locations and describes insulation for pots that must remain outside. OSU winter-protection guidance
For spring bulbs, that protection must also preserve their needed cold period. An unheated garage is a possible location, not an automatic solution: check how cold it actually gets and consult your local extension service for the bulbs you are growing. A heated living room is not a substitute for winter chilling.
For outdoor containers that still need temporary protection during a cold snap, see our guide to the best plant covers for frost protection.
If you are unsure whether a cold night calls for covering, moving the pot, or protecting the roots as well as the foliage, our guide to protecting plants from frost explains the decision step by step.
In mild, wet regions
Check the base after rain. Remove standing water and keep drainage openings clear. A sheltered position may reduce rainfall, but it also means you must check whether the mix is drying out. Water according to its condition rather than assuming every pot needs the same weekly schedule.
In warm-winter regions
Ask the bulb supplier whether the cultivar needs pre-chilling, whether purchased bulbs have already received it, and when to plant them locally. Do this before ordering.
Controlled chilling is also used for indoor forcing. Illinois Extension describes 35–45°F conditions, with duration varying by bulb, and warns that ripening fruit in a refrigerator can affect flower development. That is useful context, but indoor forcing is a separate method; do not automatically transfer its shallow planting instructions to an outdoor display. Illinois Extension forcing guide
Enjoy the flowers and plan for the foliage

As the spring display develops, keep checking moisture and avoid waterlogging. After flowering, allow leaves to die back naturally. You can move the pot to a less prominent position while it finishes that stage. RHS aftercare advice
Plan that second location at the start. It is easier to enjoy a fading pot when it already has a place to go. A group of movable containers also lets you refresh the doorway without treating each plant as disposable the moment its flowers finish.
Questions before you start
Do I need several bulb types in one pot?
No. One variety can create a complete display. Layering is an optional design choice, and separate pots make it easier to change the arrangement.
How many bulbs should I buy?
Use the variety's container-spacing instructions and your pot's internal dimensions. There is no reliable universal count for a “12-inch pot,” because bulb size and pot shape differ.
Can the pot stay outside all winter?
That depends on the bulbs, container and exposure. Decide on winter protection before planting, particularly where prolonged freezing or persistent winter rain is likely.
Will they flower again next year?
Do not count on every display repeating unchanged. Follow the variety's aftercare advice and assess the bulbs after their foliage dies back. Forced bulbs can take time to recover before flowering again, as Illinois Extension explains.
Begin with a pot you can manage, a variety suited to your conditions and a clear winter plan. Repeat the colors or container style elsewhere when you are ready to expand. For the surrounding space, explore our small cottage garden ideas.
Images are AI-generated illustrations.
Leave a Reply